05 May Skateboarder Creates 3D Model of Bandstand – Interview
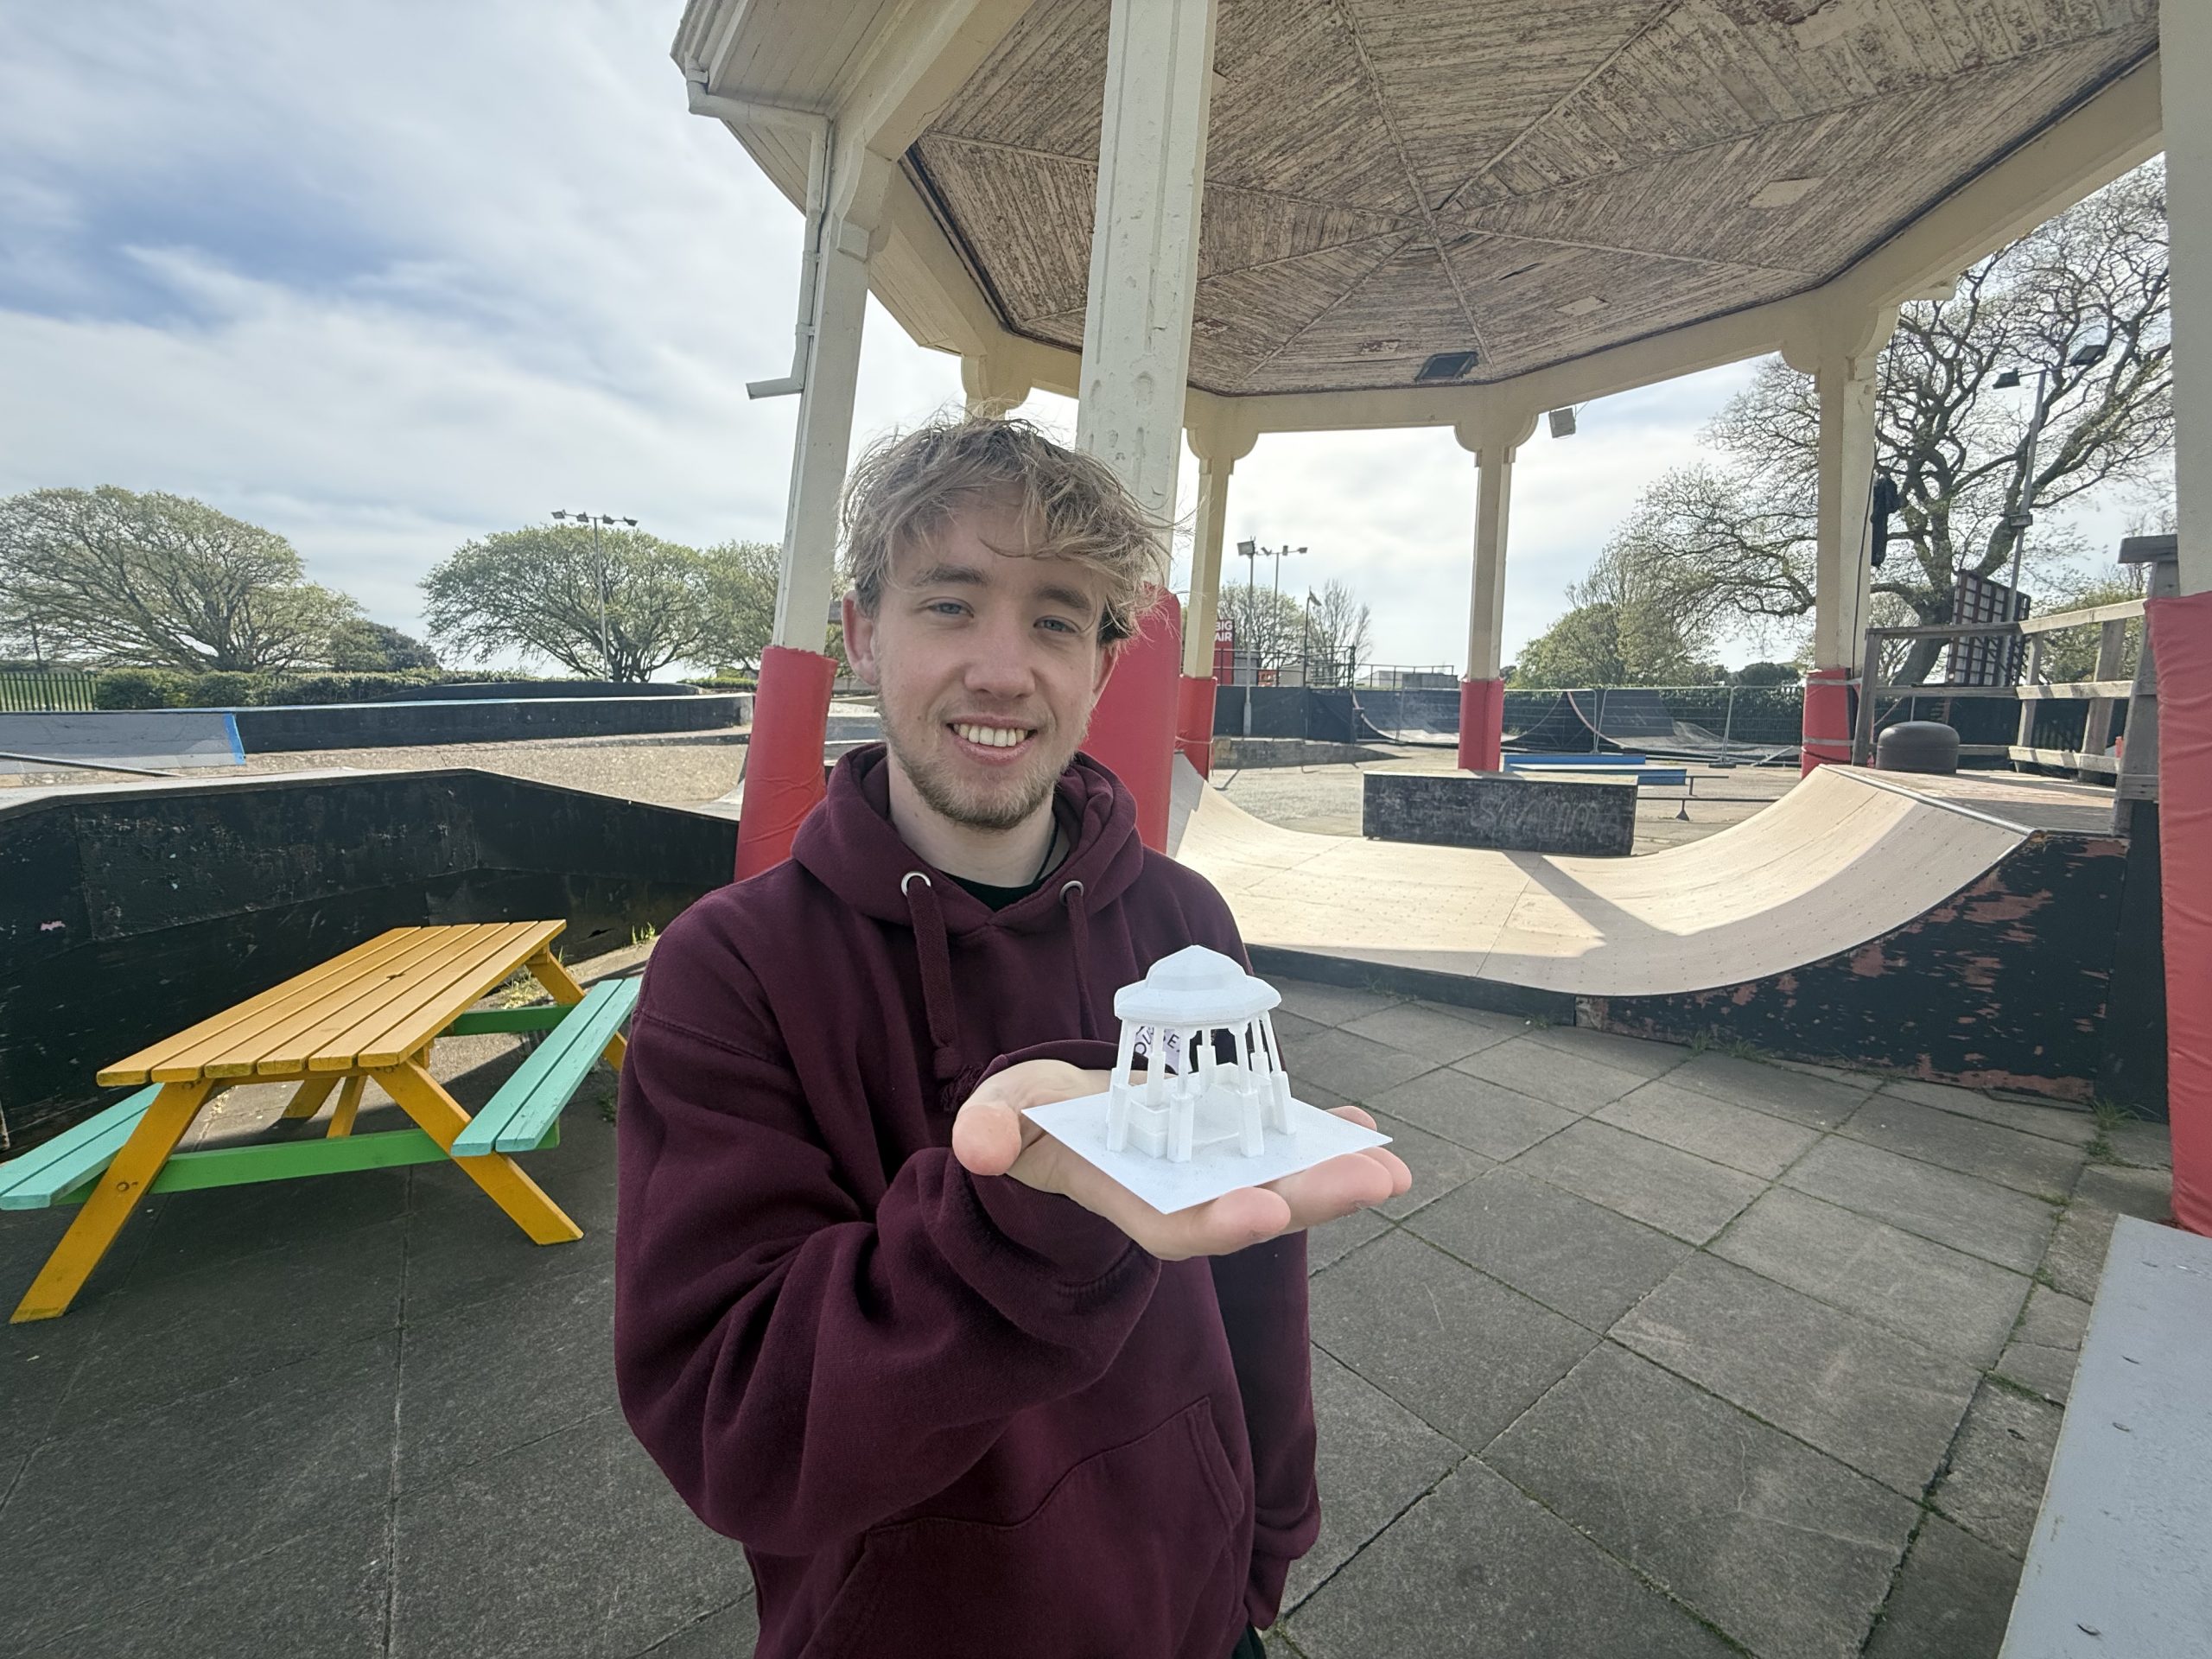
Guy is a local skateboarder and Southsea Skatepark staff member who recently created a 3D model of our bandstand, find out how he was inspired with this interview:
What inspired you to create a 3D model of the bandstand at Southsea Skatepark?
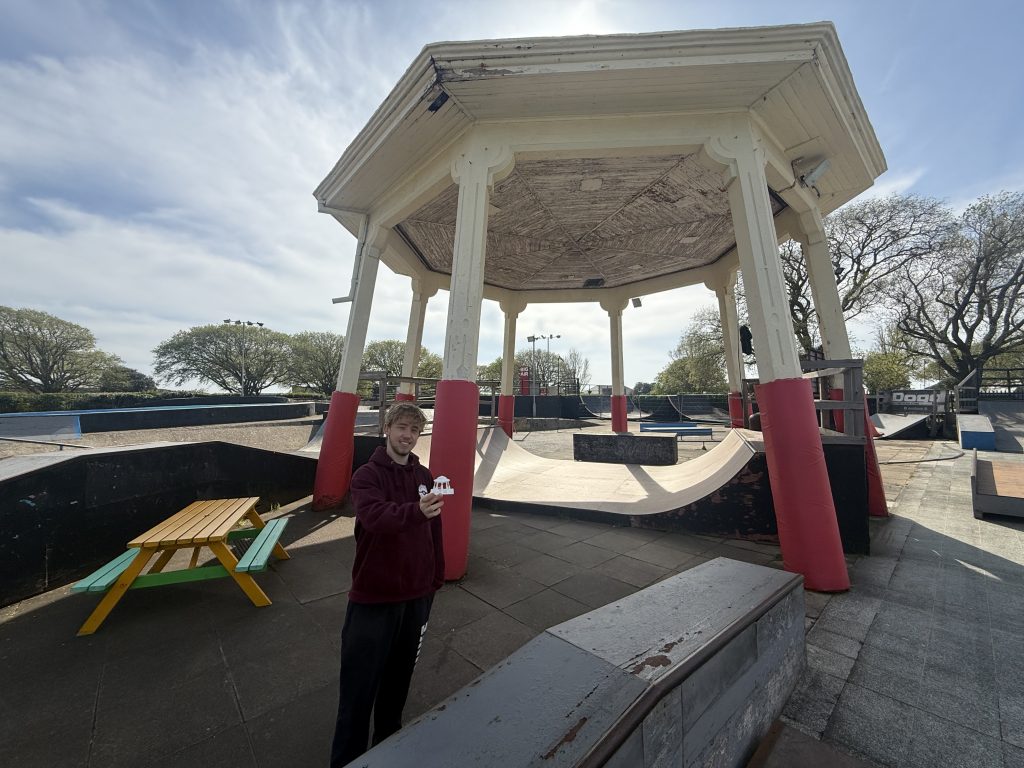
As a University of Portsmouth student, I study games design as my degree. I told this to one of the trustees at the park one night in the pub and was talking about how passionate I am about games and how they are made. From programming to modelling to designing, I love it all and get great achievement out of doing it. He asked what I could do for the park, so I came up with a few ideas right then. But the best idea was the bandstand as it is like the mascot of the park. When you think of Southsea Skatepark, you think of the bandstand mini ramp as it is very iconic to the park.
What was the main goal of the project (visualisation, preservation, game design, etc.)?
The main goal of the model was to have fun with it, creating something that the park can use for promotion and marketing. And what I got out of it was something to add to my portfolio for professional practice in an industry.
Who is the intended audience for this 3D model?
The intended target audience for this was everyone who comes and visits the park but also kids that are under 16. They would love a small model toy of the park, and this was to get more kids into the park and get them more out to skate. To promote skateboarding more. As soon as I made this model and it was posted on the southsea social media for updates on the park, the kids instantly started asking if I could model and print other bits of the park.
What reference materials did you use (photos, measurements, site visits)?
The reference materials I used for the model were photos I took of it and photos I found online of it through the years that I have found on google. Also, as I work there, I sort of went off memory for some of it too as I am quite familiar with the way it looks. Getting different angles and getting positions right of where things should go and sizing right of the scale of the ramp. For example, making the ramp smaller than the stand cover. Or making sure there are 8 legs for the cover and not more or less as in real life there are 8.
What software did you use to create the 3D model?
The software I used to create this model was Blender. I am quite experienced with this software but also got a lot more to learn. I discovered this software in college 4 years ago and love messing around in it from time to time. Its quite beginner friendly and the ease of it to learn made me want to have fun with it.
Can you walk me through your workflow from start to finish?
I started by creating the half pipe mini ramp using various techniques within the engine such as bevelling, extruding and mirroring. Moving onto the actual cover stand, using techniques like loop cutting and knifing. I developed the roof first and moved onto the legs. These were made as a separate object and then joined the 8 legs to the roof object. Merging vertices and tweaking it A LOT to make it look just right.
Which part of the bandstand was the most challenging to model, and why?
When developing the fences which are on top of the ramp. This was the only challenge I came into as when it came to 3D printing it, it didn’t want to print the fences at all. I have no idea why and I tried a lot of things to fix it, but it wouldn’t fix. So, I had to resort to making them out of simple editing cubes.
I still think it would need some work as it isn’t perfect. The reason I didn’t carry on with it is because managing university work alongside this was the main priority. I just wanted to have fun with it alongside which is why I prioritised more important stuff like my university work. So, I sat down one evening and made it on Blender. No planning necessary, just reference images and playing around with the way it should look. Seeing what fits and what doesn’t which is one of the main tasks that a game designer has to think about when designing a game. Then over the course of 2-3 days, I went back to it for half an hour a day to just tweak it to look up to standard for the showcase of the park.
Did you use any specific techniques (e.g., photogrammetry, manual modelling, sculpting)?
After 3D printing this, you must sand it down, so it looks less rigid and more smooth on the outside. I couldn’t do this for the half pipe mini ramp as it was inside the bandstand, and it was too small to fit the sandpaper inside. After doing this, the model was finished and looked perfectly and came out as intended. I’m happy with it.
Any plans to do any 3d models for the rest of the park?
From this successful feedback, I am inspired to do more and currently in the process of developing a 3D print of the infamous keyhole bowl that is in the park. Which is another iconic aspect of the park.
KEYHOLE COMING SOON…..
No Comments